Not every stone is equal when it comes to lapidary difficulty. Labradorite cuts well, but making the most out of a given piece of rough can be quite hard if you’re not aware of what you’re doing. There are some secrets to making sure that you’re getting the right flash.
So, let’s dive in and I’ll teach you how to cut and polish labradorite in your workshop!
What You Need
You’ll need a few things in order to do this properly. That said, there are a few cheaper alternatives for those who don’t have a full lapidary workshop.
What you’re going to need:
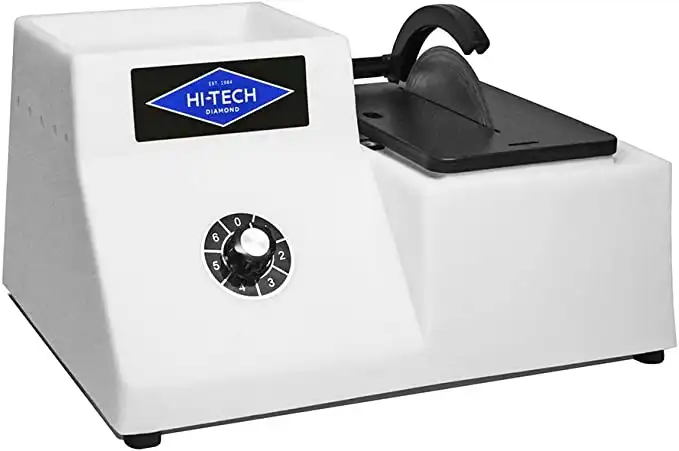
- Trim Saw- You can also use a small tile saw for this, especially if you’re also willing to shell out for a lapidary blade.
- Block of Wood- Any scrap piece will do. Ideally, it should be larger than your rough unless you’re cutting chunks fist-sized or larger.
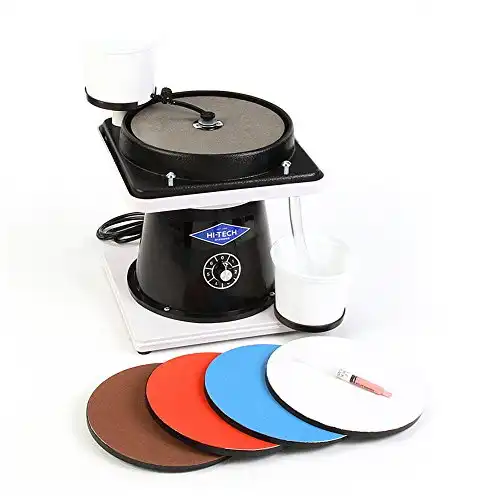
- Flat Lap- Ideal, but you can do most shaping and polishing with lapidary files and sandpaper. Rough shaping can be carefully done with a bench grinder as well, I’ll describe a technique below.
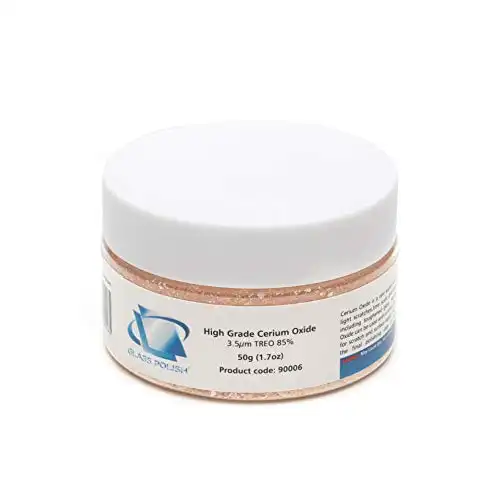
- Cerium Oxide- Seems to produce the best polish on labradorite. For display pieces, you can skip this and go for 3-5k grit sandpaper.
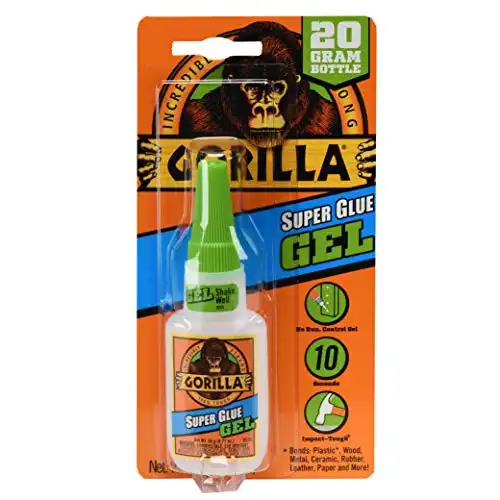
- Super Glue- To affix the rough to the piece of board.
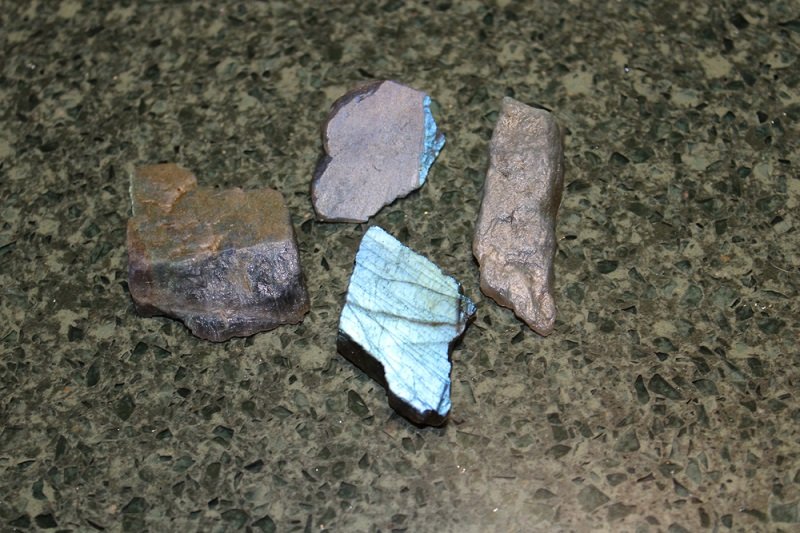
- Good Rough- Not all rough labradorite has a lot of flash, and even the material that does may crumble when cut. You need solid pieces that show a good amount of flash when wet.
You don’t need a lot but most of us don’t have a lapidary workshop in the back shed. You essentially need something to cut the stone, and a way to polish the surface. The problem lies in getting the right optical effect.
Labradorite isn’t exceptionally toxic, but you should still take precautions. Remember that lung damage from exposure to this kind of dust is cumulative in addition to any acute effects.
We want to collect rocks on our shelves, not in our lungs.
So, standard PPE is advised:
- Safety Glasses- Or goggles, depending on your preferred wear. Labradorite likes to throw chunks so they’re even less optional than normal.
- Mask- N95 or a respirator with a particle filter should be used.


You can also wear gloves if you’d like, but I only use them with exceptionally toxic materials like malachite or Bumblebee Jasper.
How To Cut and Polish Labradorite
1. Determine Orientation of Flash
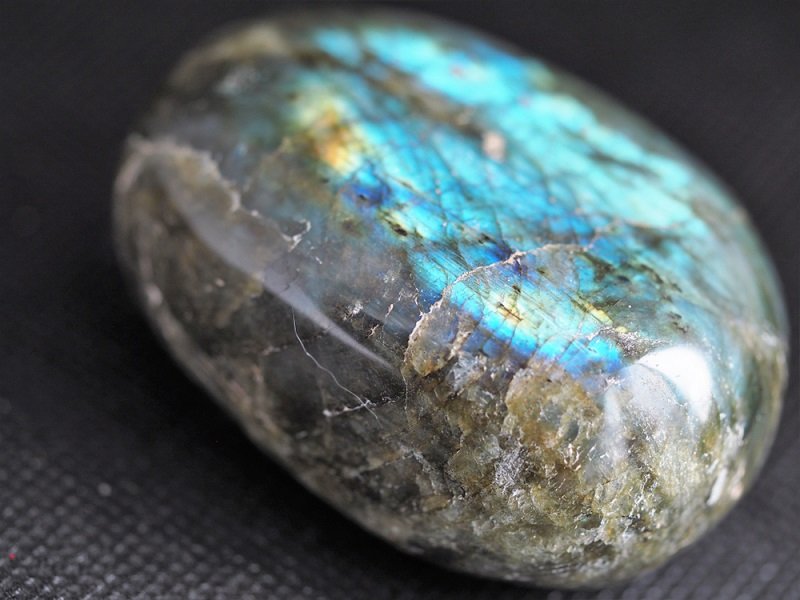
Labradorite’s flash is caused by a complicated intergrowth of crystals that scatter light. If you’ve collected the stuff you’ve probably realized that not every piece is cut right for display.
We’re usually aiming for a full-frontal display of the schiller. Meaning that the stone shows its colors when viewed dead-on from a 90° angle to the way its cut. This gives us the best display for jewelry and allows us to orient any flat polished surfaces for display specimens easily.
I have kilos of badly cut labradorite lying around. It’s pretty, but it’s not suitable for serious jewelry use or most displays since the axis for the schiller is off. You can end up with pieces that only have their color visible at extreme angles. It’s kind of maddening, especially when the colors are good.
First, get your rough bit of labradorite wet. This should let you see any flash that’s within the stone, especially if it’s a decent grade. If you can’t see anything at all, then you’ll need to either grind or slice a window with your tools.
Once you’ve found the flash, keep orienting the stone until you have as much color showing as possible. Mark the stone at this angle using a sharpie or aluminum scribe. This is the “top” of the stone.
You may mess this up the first few times. It took me a few pieces of rough to get the angle right, so start with the worst bit of rough you have to lessen any losses that come from the learning curve.
2. Affix to Board
I cut most stones freehand, it’s simple and my hands have been around diamond saw blades enough that I really don’t mind them. For labradorite (or any other similar optical effect like rainbow moonstone) I affix them to a board because the angle needs to be as accurate as possible.
Superglue is ideal for this task but epoxy may be needed for very large specimens.
If the connecting bit is too thin, then I recommend free-handing a slice so you have a nice flat surface to glue to the board. Remember to keep the orientation even if it seems like a weird angle for gluing.
Let the glue dry or epoxy cure after you double-check the orientation again. “Good enough” for the top is only a few degrees off.
Many pieces of labradorite will be made up of multiple crystals. Mid-grade rough may require re-orientation at some point in the stone to maintain the flash, so be aware of any big boundaries in the stone.
3. Slice the Stone
Running your wet tile saw or trim saw, you’ll now begin to slice the stone down.
Labradorite cuts easily with most blades, I’ve never had an issue with it. For very small bits of stone, you can also use a large diamond wheel on a flex shaft or Dremel to make the slice. I recommend, in that case, affixing it to a 2×4 with hose clamps and using it as a stationary saw rather than attempting to cut in with the tool in your hands.
Cut at your usual thickness. If you’re a newbie then ¼” or ⅜” is a good target. I’d aim for ¼” and err on the smaller side, when pieces get too thick you’ll have to resort to high-dome cabs. Labradorite looks much better with only a slight dome since it allows for better angles to view the color.
If you used superglue I recommend keeping your thumbs backing the piece on either side of the blade. Cyanoacrylate doesn’t like force applied at that angle but it’s easier to remove and dries more quickly than epoxy.
If you have a piece that has multiple large, obvious crystals then you should check the orientation when you’ve worked through most of the first crystal. You may need to break the glue/epoxy and use a new orientation.
Slicing along the orientation is the difference between a colorful gem full of fire and a dull grey rock.
Apart from orientation, labradorite cuts easily. The only real issue with this type of feldspar is that it sometimes crumbles readily, especially along the exterior. Don’t worry too much about that, just wipe the pieces off the saw’s work surface and keep cutting.
For display specimens, you can take a look at the flat surface each time you cut off a slab until you’re satisfied.
4. Shape and Sand
Depending on what you want to do with the chunk you’re working with, you’ll now begin shaping and sanding the piece.
Cab Machine
Shaping can be done easily with a cab machine, whether it’s a cabochon or a flat-faced specimen. Just go through the grits and keep a light touch. You can cut the shapes out with the same saw you used to make the slabs you’re working with if you want to cut cabochons.
Most of us don’t have a Cab King sitting in the workshop, unfortunately, so we may resort to other methods.
Bench Grinder
Bench grinders can work, but you need to be very careful. We don’t ever dry-cut stone if we can avoid it, so you’ll need to dip the stone in water and watch the surface carefully. Most bench grinders don’t have electric protection, so this can be a bit dicey. You need to find the balance between wet stone and not getting water on the motor.
Rotary Tool
Flex shafts or a rotary tool equipped with diamond grinding bits can be used, a set of 50 cheap bits which you can get online or in any Harbor Freight. Use the big wheels for grinding flat surfaces or angling edges and the smaller burrs for any carving you want to undertake.
A flex shaft can be used in water, since there’s no electrical connection going up the length of the shaft to the motor. Dry out your handpiece thoroughly and apply oil after you’re done and there will be no issues.
Otherwise, you’ll be dipping the stone in water and grinding until the water is gone on repeat for a while. Labradorite works quicker than agate, but it’s not as fast as something softer like apatite either.
When you’ve shaped things to your desired form, you’ve got two options.
Cab Machine vs Sandpaper
If you have a cab machine, you can go through the grits on the wheels. This is the preferred method for cabochons since the wheels and a practiced hand make it easy to get a good, even dome on the stone.
Or you can use sandpaper. Labradorite will sand at a decent rate, it’s not like digging into a jasper where you’re stuck going through sheets of the same grit all day. Just sand until all of the scratches from the previous grit are gone and then go up incrementally.
I’ll usually run 120 to 400 to 600 to 800 to 1000 grit. After that, I’ll continue in small increments of whatever I have in the shop to get it to a 2500 or 3000 grit finish. I consider 400 the end of “shaping” sandpaper, so I’ll make any corrections to the form with that grit before moving on.
Hand sanding is easy to learn, its just time-consuming.
The important thing is to have an even finish across the surface of the stone when you’re done with the sandpaper.
5. Final Polish
Your stone should be getting pretty shiny by about the time you hit 1000 grit with your wheels or sandpaper. At 2500 grit it will almost look like a full polish but most of us want to go further.
You’ll need a felt wheel on a polisher or cab machine, or one for your rotary or flex shaft. You can also use a rag (preferably a proper polishing cloth like a Sunshine Cloth) as well, but it’s a lot more work.
Make a paste with a pinch of the cerium oxide by mixing it with water. Then start your wheel at a low RPM and get it charged with the polishing compound. For larger pieces, I’ll sometimes make the paste and just directly apply it to the surface of the stone.
Keep a mask on when doing this, some of the material still ends up in the air and it’s not good for you.
Go over the entire surface of the stone until you’ve got the finish you want. If you still have small scratches you may need to go back to a high grit sandpaper and work them out. Cerium oxide is abrasive, but not enough that it’s going to grind out anything you can feel.
And with that final step, you’ll have brought a piece of labradorite to a great finish while maintaining the optical effect!
- Online rock and mineral club for collectors of all levels!
- Find community with like-minded rock and mineral enthusiasts.
- Monthly Giveaways!
- Free Access to Entire Digital Library of Products (current and future products)*
