Looking to add a wet shine to your rocks? You don’t need to wait for a tumbler to do the job. With a few simple techniques, you can polish your rocks to a glossy finish in no time. Here’s how to get started:
Quick Rock Polishing Methods For That Wet and Shiny Look
- Emery Cloth Sanding: Start with a coarse grit and work your way to a fine grit, keeping the rock wet.
- Diatomaceous Earth: Use this gentle abrasive for a natural shine.
- Toothpaste or Car Wax: For a smooth polish, these household items work wonders.
- Oil Treatment: Oils like jojoba or mineral oil can give a soft, wet sheen.
- Resin-Based Polish: For a lasting high-gloss finish, a resin coat does the trick.
- Water-Based Silicone or Polycrylic: These provide a durable shine without discoloration.
Choosing the Right Rocks
Not all rocks are suitable for polishing. Harder stones are ideal as they hold the shine longer and are less likely to get damaged during the polishing process. River rocks are a great option for any of the methods listed below.
Safety First
Before you begin, remember to wear gloves to protect your hands from any sharp edges or chemicals. Depending on your chosen method, eye and face protection may also be necessary.
Dive into the details below to find out which method suits your rocks and how you can safely apply each technique for the best results.
How To Make Rocks Look Wet and Shiny
1. Emrey Cloth
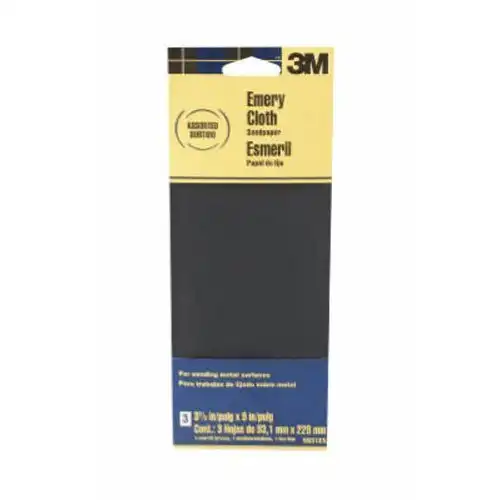
Emery sandpaper can be found at your local hardware store. It can have either a paper or cloth backing. You’ll want cloth backing for rock polishing, in varying grits from 40-320.
Begin sanding with a heavy grit and work gradually down to the finest grit cloth, keeping the rock wet to prevent damage and help remove excess material. Once you’re satisfied with the smoothness of your rock finish, use felt to rub in a coat of aluminum oxide, which can be obtained at most craft stores. The result should be a shiny, smooth-to-the-touch finish to display and enjoy.
Read More: How To Polish Rocks With Sandpaper
2. Diatomaceous Earth
Diatomaceous earth consists of the tiny fossil remains of ancient diatoms. It can be bought in the gardening section of your local hardware store, and often in craft stores as well. Shop around for the smallest possible particle size when polishing stones.
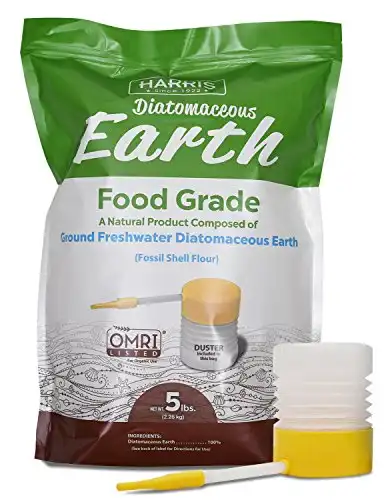
Diatomaceous earth has been used as a mild abrasive for centuries. The powdery substance shines while retaining as much of the rock’s surface as possible. You can use a soft cloth to rub the powder on the rock, or place rocks with 5-times as much earth in a plastic food container and shake, checking periodically until you’ve achieved the desired results. Shaking one rock at a time will prevent them from bumping together and possibly damaging each other.
3. Toothpaste or Car Wax
Two other choices for hand polishing are whitening toothpaste or car wax. If you decide to try toothpaste, choose a plain white paste, no gels or bright colors. The paste will remove stains from stones just as it would from your teeth but is nonabrasive enough to protect the rock’s surface.
Car wax would be applied just as you apply it to your vehicle. Apply to clean, dry stones with a moist, soft cloth. Let each coat dry before gently buffing. You may apply 2-3 coats to achieve a high shine.
4. Oil
Smooth stones may also be brought to a high, wet-look shine with oil. Jojoba oil is one good choice, as it will not become sticky or rancid as some kitchen oils will. Thoroughly soak the rocks in oil and allow 5-10 minutes for it to soak in. Then gently remove excess oil with an absorbent cloth.
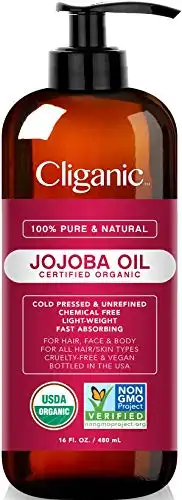
Mineral oil is also an excellent polishing oil to use after hand-sanding. This is a great method to use on softer rocks, such as Petoskey stones.
The results of any of the above polishing methods may dull over time, especially if the rocks are frequently handled. A resin or other chemical-based clear coat may offer a more permanent finish.
5. Resin-based Polish
Resin-based finishes are available as a spray or as a pour-on clear, high gloss finish. Apply these types of finishes outside or in a well-ventilated area. You’ll need a shallow cardboard box or another disposable work surface large enough to handle overspray.
Spread stones out so that they do not touch. If you’re using a spray resin, apply light layers from 6-8 inches away. Let dry between layers, then for about 30 minutes before turning and repeating on the other side. Usually, 2-3 layers are sufficient to produce the desired glossy, wet look. Let the stones cure for a couple of days before placing them together in a container for display.
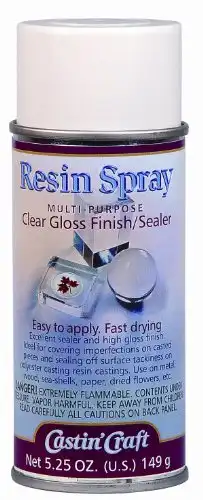
A pour-on, clear resin can be applied with a paintbrush. This type of resin can be applied to the entire stone or used to highlight specific features, such as gemstone in rough rock. As with a spray, several layers can be applied. Always allow the stone to dry thoroughly between coats.
Clear resin also has a stabilizing effect on some rocks, such as turquoise, making it the preferred medium for shine and durability.
6. Water-based Silicone or Polyacrylic
Spray silicone coatings penetrate rocks to produce a shiny, wet look. However, a silicone spray finish may dull over time. A more permanent shine may be attained with a polyacrylic or polyurethane coating.
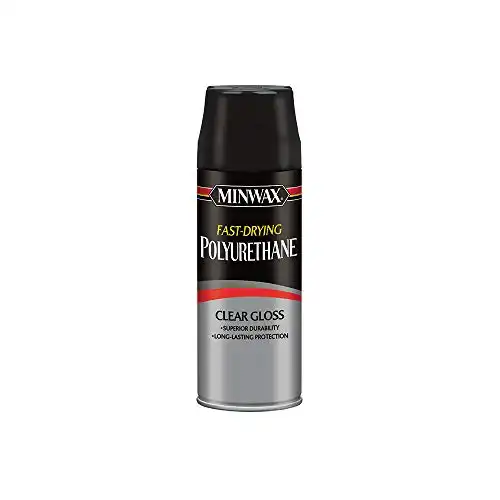
Water-based coatings are preferable because oil-based finishes may discolor over time, causing your rock to take on a yellowish tint. A polyurethane exterior coating can be applied with a paintbrush or spray gun. The coating hardens as it dries and is available in various finish types, such as satin or high-gloss.
Clear cast epoxy works in a similar way. Youtube offers live instruction for applying these types of finishes to certain specimens of your rock collection. Some collectors prefer a dull or matte finish, but if you’re looking for a durable, wet and shiny look, there are plenty of chat-style sites for opinions as well as step by step DIY sites to choose from.
- Online rock and mineral club for collectors of all levels!
- Find community with like-minded rock and mineral enthusiasts.
- Monthly Giveaways!
- Free Access to Entire Digital Library of Products (annual memberships)
