How to Polish Fluorite
Fluorite is a great specimen, but sometimes you want a little more shine. That’s especially true for good pieces that’ll be sitting on the shelf, and polishing it yourself is an easy option. Unlike many stones, fluorite’s softness lends it well to being polished with simple tools.
So if you ever wanted to learn how to polish fluorite, you’re in the right place!
What You Need
You don’t need a lot, but you’ll need at least the following:
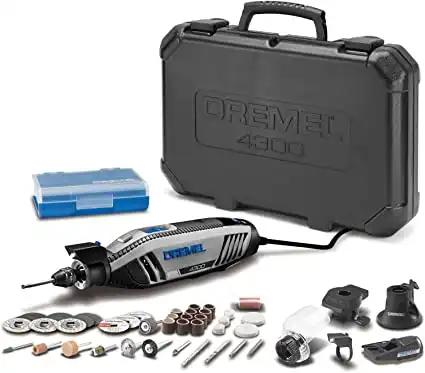

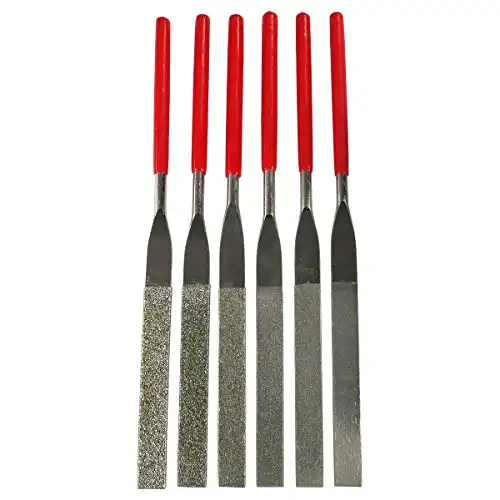
- Rotary Tool or Flex Shaft- The flex shaft can be used underwater, allowing us to cut down the material safely. If you don’t have access to a flex shaft, a set of lapidary files is fine.
- Diamond Bits- Diamond bits are the good stuff when it comes to shaping. Higher grit ones can sometimes help in initial sanding as well.
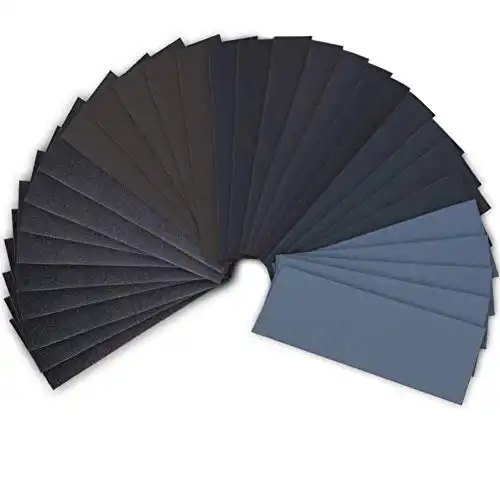
- Sanding Drums or Sandpaper- Even when I use a flex shaft for the first bit I like to go with sandpaper, but not everyone enjoys the process. A Dremel with sanding drums will be quicker.
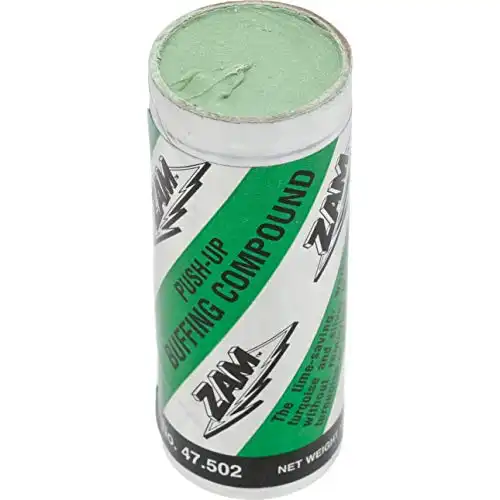
- Zam- I use Zam for anything 5 or under on the Moh’s scale. It’s handy stuff, and great for softer stones.
- Bucket or Cooler- I have a dedicated cooler for lapidary use inside my home. You’ll need something similar.
I outright refuse to stick fluorite in a tumbler. A tumbler can be used until the final stages, but I feel they just cause a lot of problems. Fluorite is almost always filled with fractures and tumbling is too rough on them.
Cabbing or faceting fluorite is beyond this demonstration. Both are hard to do and require exceptional material and different equipment than what most of us keep in the garage.
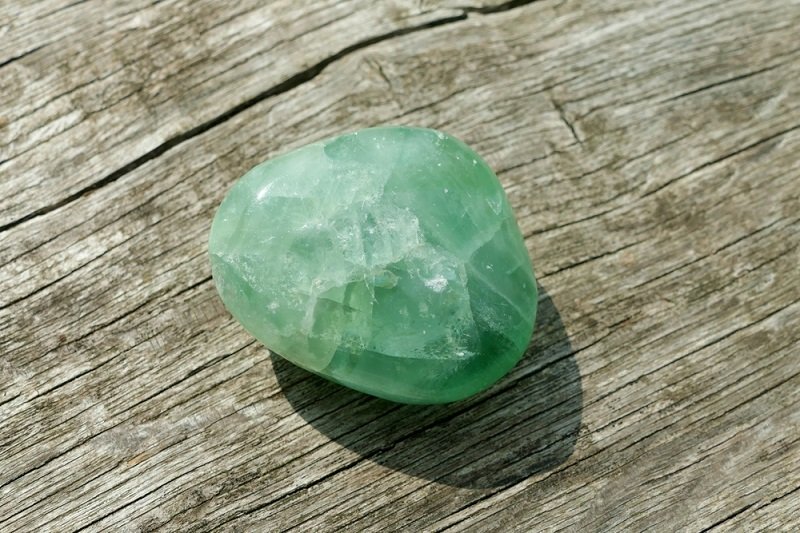
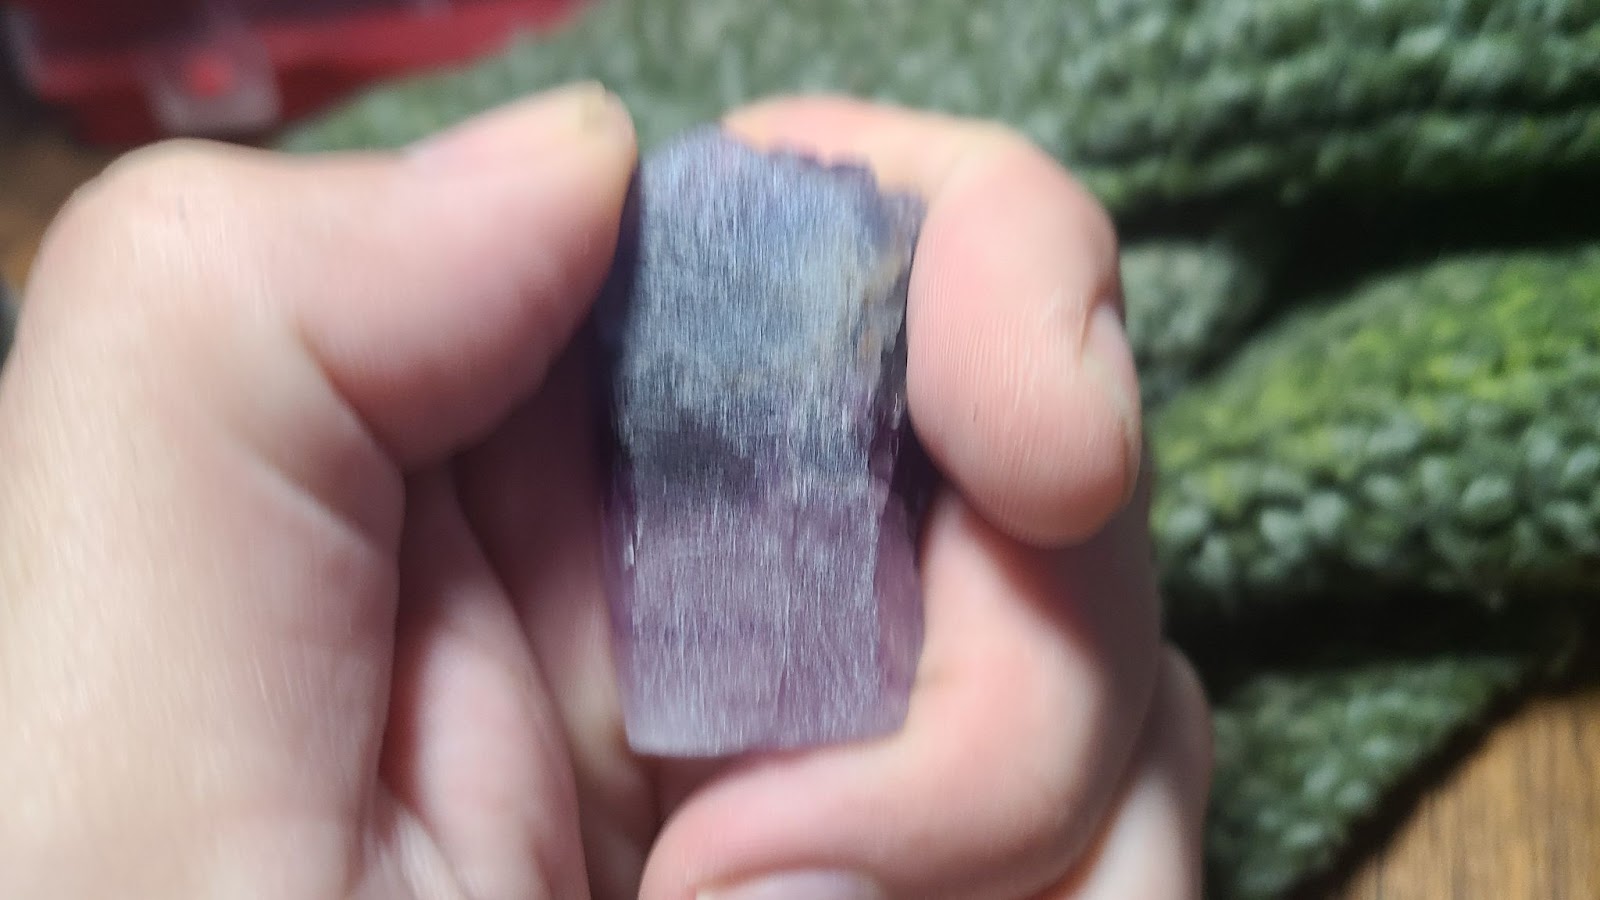
For the demonstration, I’ll be face-polishing a piece of rainbow fluorite I picked up on Amazon. You can adapt the techniques to whatever shape you’d like, including carvings.
If you’re using power tools you also need safety goggles, especially when pre-forming the stone.
Working dry is a terrible idea, but if you insist then I recommend using a particle filter in a proper respirator.
Some people consider fluorite toxic, but… that’s not the case. The dust isn’t any worse than most rock dust. Fluorite is calcium bonded with fluorine. Fluorine by itself is really nasty stuff, but so is the chlorine contained in table salt. This stable form of the element isn’t any worse than any other stone.
That also means gloves aren’t required.
Still, it’s always best to protect yourself. The acute effects are pretty bad, but it’s the long-term effects of silica or calcium dust that should worry you.
Or you can just work it wet and not worry about it at all.
One more big thing: don’t work stones in your sink or bathtub, and don’t dispose of your water in that manner. It’s equivalent to just pouring sand down the drain and will cause the same problems.
You can dispose of the water easily by dumping it outside, fluorite dust and fragments aren’t going to cause any problems in your lawn or backyard.
1. Selecting a Piece of Fluorite

Selecting your piece of fluorite is the key here.
If you have rough, then get it wet and take a look. If you look at the pieces in the picture above, I’ve separated them into three groups. The top is all very hard, for fluorite, with minimal cracking and fracturing. This is suitable for carving, but not exactly AAA stuff.
The middle pieces all have some problems that make the amount of material for tumbling or carving less than what it appears. They’re still good candidates for hand polishing.
The bottom ones have a lot of fractures and aren’t really usable for much. They’re pretty, but best put on a shelf somewhere as is. Lighter-colored material often seems to have more fractures, but it may just be the fact you can see into them better.
The key here is to try to follow the fractures internally as far as you can. Sometimes they’re closer to cracks than real fractures and you can grind them out without much work. Other times a seemingly good piece may have a deep fracture that makes it unsuitable for carving or cabbing.
Unfortunately, a lot of fluorite is just crumbly material. What you end up with depends largely on your source initially, I’m pleasantly surprised with this batch. It’s not uncommon to only find a couple of pieces worth playing with, at least in a randomly bought stone lot.
Of course, the colors and internal construction also factor in. There’s no point in polishing a piece that you won’t enjoy.
Just make sure that your piece is solid enough to be worked.
2. Preform the Piece
You’ll now get your diamond bits and grinders, or lapidary files if you’re working low tech.
Rotary tools should be on a lower RPM. I run 4000-5000 RPM with my flex shaft. This helps protect the bits from getting too hot and burning off the diamonds.
Go over the piece, even the bits that you’re not polishing. Oftentimes there will be crystals that are a slightly different color and surrounded by fractures. Grind these out, it will prevent them from coming off the stone later.
They’ll usually break out before you grind them down to the crystal you’re working with.
At this stage, you can do any carving or cutting you’re using on the stone. If you have a solid piece and a good flex shaft I recommend getting some carving done, fluorite is a joy to carve because of its low hardness.
Keep the stone wet. I prefer to work in the water, but if you don’t have a rotary tool that’s safe to do it with you may need to just keep the piece wet. Dipping occasionally works quite well, you should dip the stone as soon as you see white scratches forming or any dust coming off the piece.
With power tools, this will throw mud. Most of it will also be thrown in your direction, so plan accordingly. A cheap apron is a good idea, and you may want to protect the stuff around you.
Flat surfaces are easier to polish, so pick a face and flat it if you’re looking to make a shelf specimen.
Use a light touch but don’t be overly gentle. If an internal fracture is going to make the piece overly fragile, you want it to break now instead of after you’ve spent hours working on the piece.
One more thing: don’t chase fractures. Often you’ll just make things worse. The key to avoiding chasing them is to watch the fracture’s placement on the stone since they’re often hard to see when working wet. If it’s moving but not lessening you may want to call it good and just deal with the surface imperfection.
These fractures can lead to pockets in the fluorite as well, which will affect the final polish more than a simple line.
3. Work Through Successive Grits

You’re now going to go through the successive grits of sandpaper on your piece. You can use sanding discs on a rotary tool or just plain sandpaper. The former will make the work a bit faster, but fluorite doesn’t require hours and hours of sanding like agate or quartz.
Use the closest successive grits that you can, it makes a big difference in the final polish. Smaller increments are a good thing, but not everyone has paper in every grit. For common grits I recommend moving from 220 to 400 to 800 to 1200 to 2000. Fluorite doesn’t seem to benefit much from going over 2000 grit before the final polish.
Ideally, you’ll also change the water in the bucket after each grit. This avoids problems with contamination. In practice, I’ve never had a problem this way and it’s a huge pain to keep refilling the bucket over and over.
Give it extra time with your last grit.
Let the stone dry to examine it, you want a nice and smooth uniform finish across the entire sanded surface. A loupe can be helpful to examine more closely, at 800 and above the scratches can be quite hard to see.
You may have to go back a few grits if you find large scratches. Be thorough, it makes a big difference in the final step.
4. Final Polish

The key to getting the final polish on fluorite is to use the right polishing compound and go slowly. I use Zam for this, and I recommend having a tube around for every would-be lapidary, especially if you’ve got a thing for opals and turquoise.
The main thing to be aware of here is heat. You don’t want to heat the stone up too much or you risk breaking it, but the final polish is best done dry.
Putting Zam on a felt wheel is easy. Just set the wheel in the green stuff and turn the rotary on, you want a light layer of it coating the felt. Too much won’t hurt but it will make it take a bit longer to get the whole stone cleaned up.
Small circles will do best, just keep the tool moving. It’ll lay down a bit of black stuff at first, which is just the compound, but it will come off easily as you move along.
The only thing you really need to watch for is heat, don’t let the stone get too hot.
Often, the stone will reveal more coloration or inclusions as you begin to polish it.
Keep at it until you’re satisfied with the finish. The stone will often feel “wet” when it’s been polished properly.
Be proud that despite the difficulties present with the material you’ve got yourself a polished piece of fluorite!
- Online rock and mineral club for collectors of all levels!
- Find community with like-minded rock and mineral enthusiasts.
- Monthly Giveaways!
- Free Access to Entire Digital Library of Products (current and future products)*
