Let’s go low tech, and learn an easier way to polish stones. While time-consuming, getting a high polish with sandpaper is possible and easier than you’d think. You just need to know how to work through the whole process.
So, without further ado, let’s get started so I can teach you how to polish rocks with sandpaper.
What You Need
You’re going to need a few things in order to do this.
Collect the following:
- Your Rock
- A Bucket or Bowl
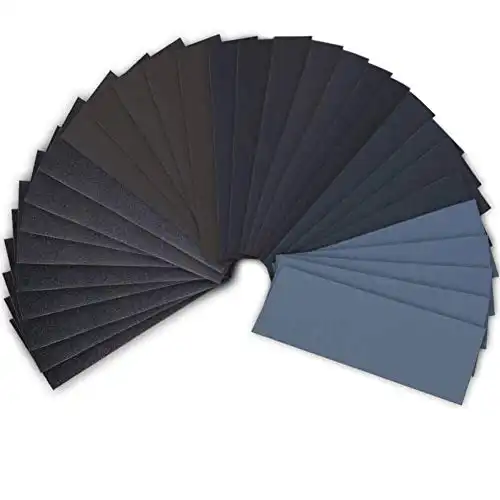
- Sandpaper in Progressive Grits from 80-2000
- Water
- (Optional) A piece of tile or flat glass sheet
- (Optional) Cerium Oxide Powder and a Rag
Simple enough, right? A dust mask is a good idea as well, particularly if you’re working indoors, but for once we’re not going to be too concerned about PPE.
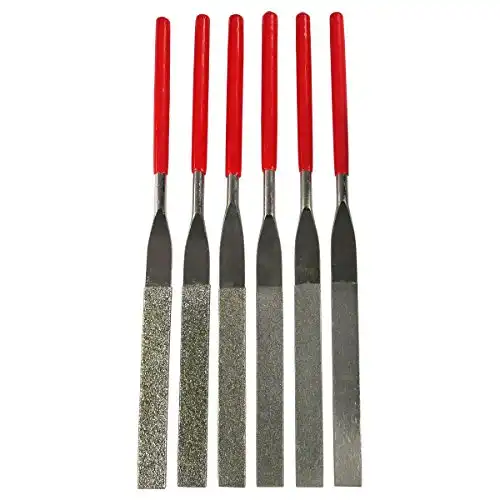
You can also use a set of lapidary flat files to do this. They’re relatively cheap and will let you work through the lower grits more quickly. You’ll most likely still want higher grit sandpaper, it’s hard to find files over 1000 grit.
Set aside a few hours to do this, then add another hour on top of what you think you’ll need. Some stones can be pretty stubborn about this.
Important Note: Do not dump the water containing rock dust down the drain. It’s functionally the same as just pouring a bunch of sand down the drain and will cause the exact same problems. You want a polished rock, not a plumber’s invoice!
Step 1- Choose a Stone

The stone you choose is going to greatly affect the amount of time you have to spend working on the stone.
Agates and Jaspers are going to be the worst out of commonly found stones. Both have high hardness, tight internal structure, and are generally quite strong stones. Serpentine and low-grade nephrite are also relatively common and will give you a bit of trouble.
Working stones with sandpaper takes time. This is not a fast or efficient way to do things, but you can polish up a reasonably sized stone in a few hours. The large flat face I worked for this demonstration took about three hours, with one hour being spent entirely just getting the face lowered enough to have a polishable surface.
Choose something softer if it’s your first time. It makes the process much easier to learn.
You should also look for a stone that doesn’t have a lot of deep crevices. You can file or grind into them, depending on the tools you have, but anything of that nature may be better off in a tumbler unless you’re planning a specific display.
The important thing is to have a lot of surfaces you can reduce without spending days trying to grind out protrusions.
Step 2- Decide on a “Plan of Attack”
You’ll need to decide how you plan to go about this. I primarily use this method to create display specimens, choosing to flat and polish a single face of the stone. You can also polish the entire stone if you have the patience to do so.
You’ll be reducing the stone to angled planes in most cases, but you can slightly curve edges. With sandpaper we’re kind of limited in the shapes we can produce, especially with harder stones.
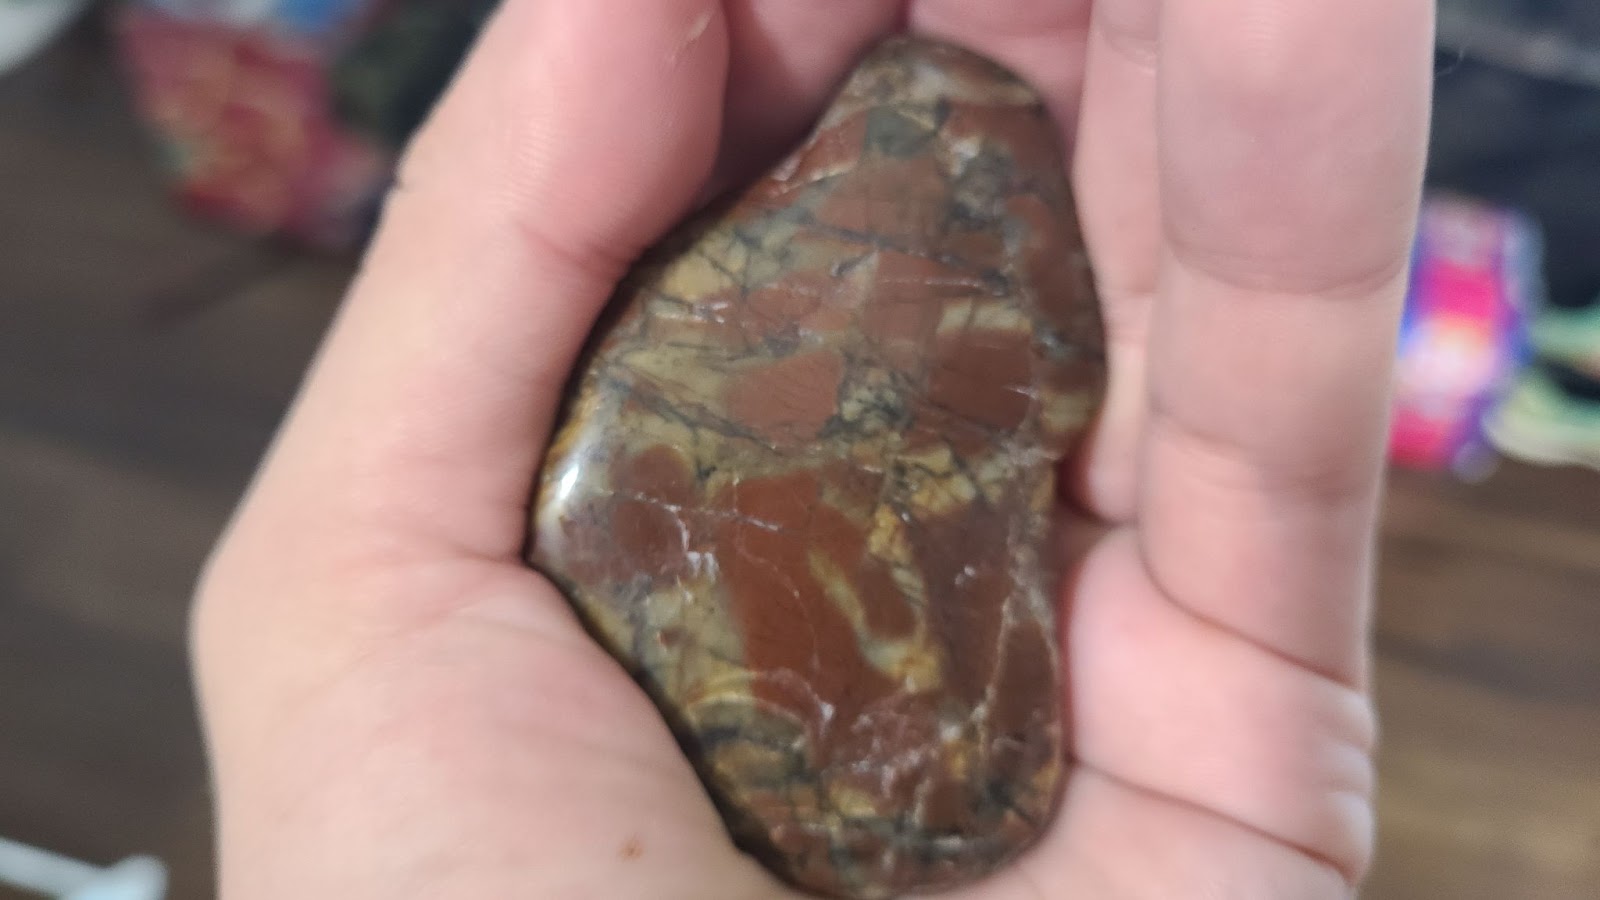
Looking at my jasper above, you’ll see it has a large flat face. In order to make a nice little shelf specimen, I’ll only be polishing the large, flat face of the stone and leaving the rest alone.
Just have a general idea of how to go about what you’re doing. Note which protrusions you want to remove entirely, which faces you want to polish, and how to deal with any problematic areas that might occur along the way.
Step 3-Initial Shaping
You’re now going to fill your bucket or bowl with water. You can also use running water in your yard, but don’t attempt to use a sink or shower for the running water.
By working wet or under the water you reduce the amount of dust in the air. A lot of rock dust can be really nasty, silicosis occurs from too much inhalation of stones like agate for instance. It’ll also keep toxic compounds that are airborne to a minimum if you’re working with something like malachite or bumblebee jasper.
If you aren’t able to work entirely in water, then work outside or put on a mask. The “mud” is less dangerous than the dust, so dip the stone whenever you begin to see dry dust coming off of it.
You’ll now begin sanding in the water. Ideally, you’ll be able to keep the stone entirely submerged while you’re working on it, but in practice that’s a pain. You should watch for visible “mud” to form and dip the stone and sandpaper again as soon as you see it.
I actually count off the time in my head, a 30-count seems to be about right and it’s an easy rhythm to get into.
Use the roughest grit to create any curved surfaces you want. You can either curve the sandpaper around the edge or tape it to something flat like a tile to allow you to get more pressure.
Once you have everything roughly where you want it to be, we’ll move on to sanding.
Step 4- Using Progressive Grits

Once shaped, step up to the next grit of paper. So, if you started with 80 you’ll move up to 120 and work from there.
With each grit, you need to work the stone until there are none of the scratches from the previous grit. You may need to dry the stone occasionally to check and see how things are going, they naturally look much shinier when wet.
Progress through the grits slowly, rushing it will just lead to an inferior finish.
Keep going until you’ve reached your highest grit. In my opinion, going up to 1000 is fine for most stones, but harder stones like agates should be taken up to 1500 or 2500 grit before polishing. Simply because they’ll take it.
Protip: A microfiber, like those for cleaning glasses, will quickly remove any remaining dust from the surface of the stone so you can get a good look at the state of the surface. Make sure you wipe down between grits.
Once you’re done, remove the stone from the water, dry it, and inspect it. This is your last chance to remove any scratches, so make sure that you take care to ensure you’re okay with the surface of the stone.
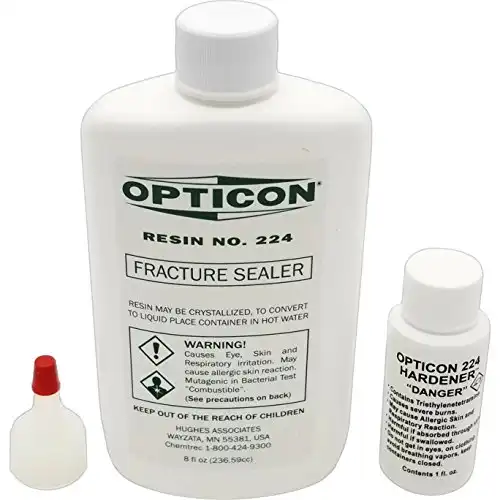
In some cases, fractures and other internal issues are too deep to reasonably be sanded out by hand. You can just leave them like I do or use something like Opticon to fill them in depending on your personal preference.
Step 5-Getting the Final Polish
Give your hands a break for a second and take your sanded stone in hand. You’ll need some sort of polishing compound, usually cerium oxide.
If you have a bench grinder of any type on hand, I recommend putting a felt wheel on it. Most of us don’t exactly have one lying around, unfortunately. A rotary tool with a felt bit will also work very well.
Read More: How to Polish Stones With a Dremel (Step-by-Step Guide)
Wear a mask when doing this, most polishes aren’t friendly to your respiratory tract.
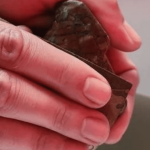
Doing it by hand is still possible. You’ll need a rag and some powdered cerium oxide. Get the rag damp and then you’ll want to pull the rag tight around your index finger. Use your finger to rub the compound in, letting it do its abrasive magic.
Small circles work best, about the size of a nickel. This is going to take quite a while, depending on how fine you want your polish. Keep the rag a bit wet and occasionally dip the damp rag back in the cerium oxide.
Once you’re satisfied with the polish, you’re good to go.
Just make sure that you don’t dump your work bucket down the sink, toilet, or bathtub.
You can dump it in the garden with no issues in most cases. For stones with considerable amounts of heavy metals (ie: malachite, hematite, bumblebee jasper) you should let the water dry out, scrape the remaining mud into a jar, and place it somewhere safe.
If you eventually fill the jar or need to get rid of it, you’ll want to take it to a local HAZMAT disposal site. Most municipal dumps have staff on hand for toxic materials.
Once satisfied, you can clean the surface of the stone with a sponge. Cerium oxide is a great polish, but it likes to fill fractures and other surface irregularities. Scrub hard, it’ll all come off eventually.
Now it’s just time to find a place to display your handmade lapidary work!
- Online rock and mineral club for collectors of all levels!
- Find community with like-minded rock and mineral enthusiasts.
- Monthly Giveaways!
- Free Access to Entire Digital Library of Products (current and future products)*
