Because of the glass-like, cryptocrystalline structure of obsidian, this stone can be an absolute challenge to polish, especially in a rock tumbler.
That’s because attempting to polish obsidian in a tumbler can easily result in fractured pieces, no matter what precautions you may take. And that’s why many collectors choose to polish obsidian by hand.
But that’s not what we’re about to do here. This guide is intended to show you how to tumble obsidian in such a way that you’re specimens remain intact and undamaged.
How To Tumble Obsidian
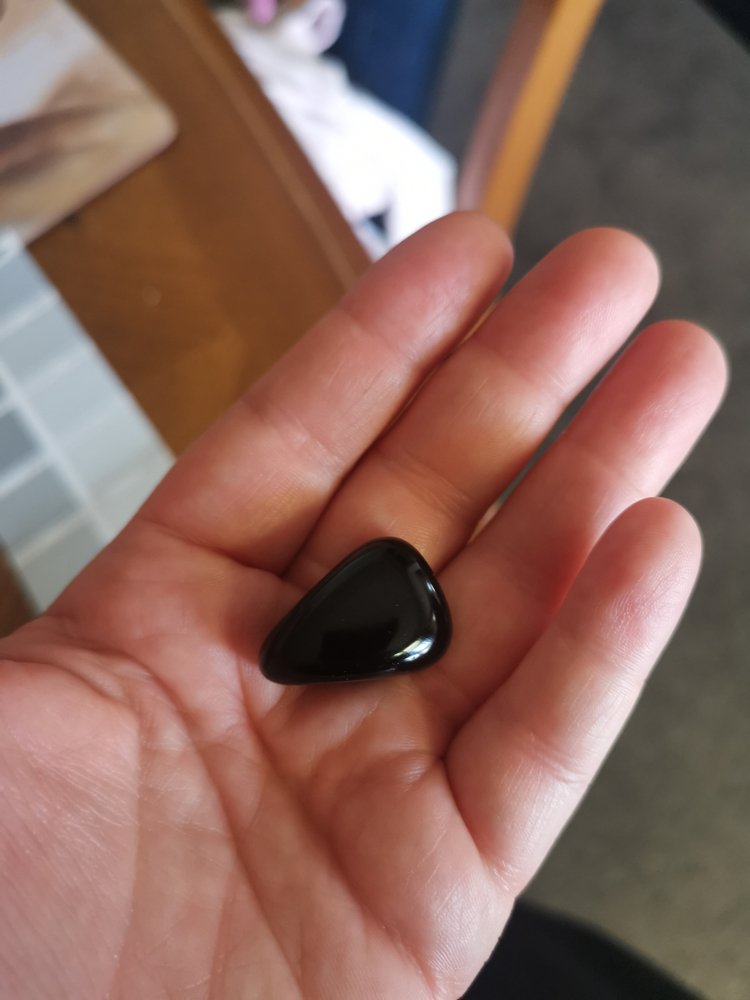
Tumbled obsidian, when done right, can be absolutely stunning in the end. Tumbled obsidian is jet black, highly lustrous, and beautiful when tumbled. You might even find that depending on the material you’re using, many pieces can also come out clear or translucent.
Yes, some people have difficulty tumbling obsidian because of how easily bruised or chipped the material can get inside the tumbler.
But if you can remember that all you need to do to achieve a nice end product with obsidian, is approach the entire process with a little finesse. You’ll do this by gently tumbling the obsidian in a generous amount of reusable ceramic media.
A Word About Bruising and Chipping?
The main reason people steer away from tumbling obsidian is because of the bruising and chipping that easily occurs to this stone during the tumbling process.
Bruising is what happens when obsidian stones impacts with other obsidian specimens inside the rock tumbling barrel. Small fractures at the point of impact can occur, and because of the glass-like structure of this volcanic glass, this can happen very easily.
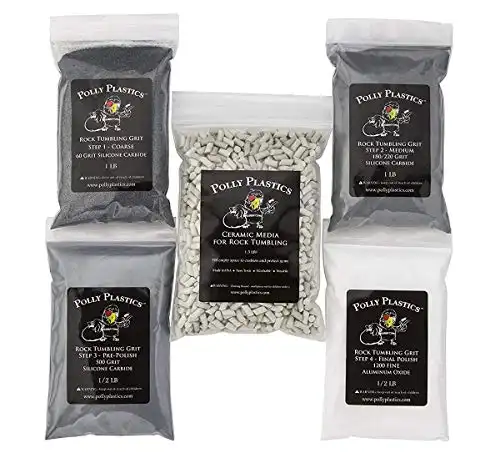
These areas of fracturing are called bruising. It happens in rock tumbling as well as in nature, such as rivers, streams and the ocean. To help eliminate the chance of bruising you simply add a generous amount of ceramic tumbling media to the barrel. This smooths out the tumbling action and softens the constant impact of rock on rock by absorbing much of the impact.
So make sure you have plenty of ceramic tumbling media on hand before you decide to start tumbling obsidian.

Rock Tumbling Instructions and Recipe for Obsidian
Break The Obsidian Into Desired Size Pieces
The first step is to break up the larger pieces of obsidian into smaller sizes that are a little more suitable to tumble. You can use a chisel and a hammer to break up the obsidian. Please remember though that when breaking any rock, especially obsidian, it is critical to use proper eye protection. Obsidian is extremely sharp. When handling the, use utmost caution.
Barrel Loading
Fill the barrel 2/3 full with a 50/50 mix of obsidian pieces and ceramic tumbling media, It’s important to use a variety of different sizes to ensure maximum surface contact. Add just enough water to barely cover the tops of the rocks. You want to see the tops of the obsidian just under the surface of the water.
Stage 1: Coarse Grit (Skip)
As you know obsidian is delicate and has a Mohs hardness of approximately 5. These stones shape quickly in a rock tumbler with silicon carbide grit because they are so soft. You have the option to completely bypass the coarse grit step if you want. And for the purpose of this guide, that’s exactly what we’re going to do!
Stage 2: Medium Grit (7-10 Days)
Add 2 tbsp of medium grit (150/220) for every pound of obsidian and ceramics you have in the barrel. Then add just enough water that the rocks are covered. For this stage you’ll run the tumbler for 7 to 10 days. I would start checking on the obsidian on day 7 then process longer if necessary.
Stage 3: Fine Grit
Add two tablespoons of medium grit (150/220) for every pound of obsidian and ceramics. Then add just enough water to cover the rocks completely. Run the tumbler for 5 days for this stage of the tumble.
Stage 4: Polish
Two tablespoons of Aluminum Oxide polish for every pound of obsidian and ceramic material. Then add just enough water to completely cover the rocks. You’ll want to tumble the obsidian for seven days during this polishing stage.
- Online rock and mineral club for collectors of all levels!
- Find community with like-minded rock and mineral enthusiasts.
- Monthly Giveaways!
- Free Access to Entire Digital Library of Products (annual memberships)
